< Back to MixEmergency Tips & Tricks
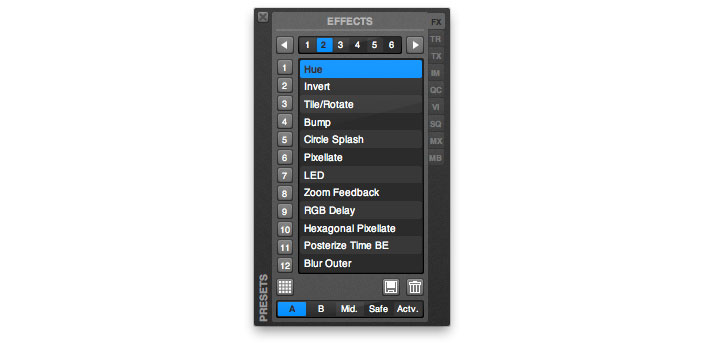
The Effect section of MixEmergency's Presets window has an extra control at the bottom that isn't present on any of the other preset sections. This control selects which channel the triggered effect preset will be applied to. However, it's possible to override this control and select which channel individual presets are applied to. Here's how you do it...
First, make sure that you've opened the Presets window, and set up the effects that you wish to have targeted.
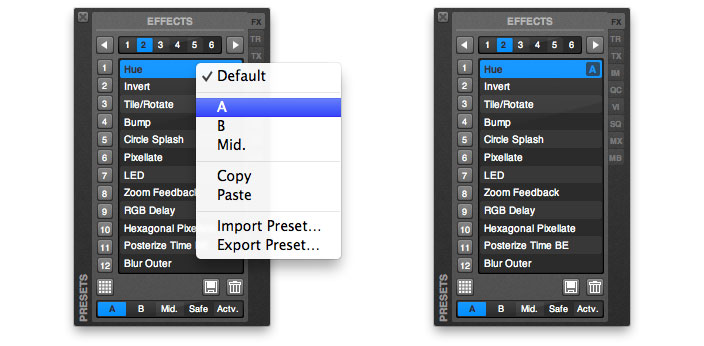
Right-click (or control-click) on the preset that you want to override the target of. A pop-up menu will open, and the Default item will be selected.
Next, select the channel that you want the effect to be applied to. In the example above, we have selected Channel A (the left channel of MixEmergency). You will notice that to the right of the effect preset there is now a box with the letter A in it. This indicates that when this preset is triggered, it will be applied to Channel A.
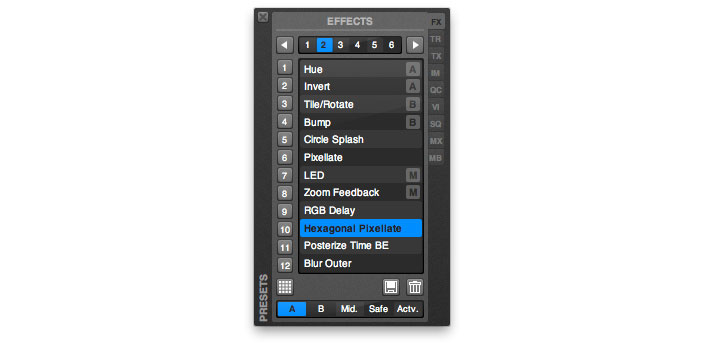
Using this feature you can set up multiple effects that can be triggered to specific channels. In the image above you can see that some effects have been set up to be applied to Channel A, some to Channel B, and some to the Middle Channel (M).
This tip was created with MixEmergency 2.6.0 and Mac OS X 10.9.3. Subsequent versions may differ.