< Back to MixEmergency Tips & Tricks
It is recommended that videos used in the Sample Player, for short video samples or those with an alpha channel, are encoded using the HAP video codec. The HAP codec is GPU-accelerated and fairly efficient, so will use less CPU than most other formats that support alpha channels.
There are a number of different formats that the HAP video codec uses, and choosing the right one is important.
For video without an alpha channel, choose the HAP, or HAP Q, format (HAP Q has a better image quality, but will results in larger files).
For video with an alpha channel, choose the HAP Alpha, or HAP Q Alpha format (HAP Q Alpha has a better image quality, but will results in larger files).
The easiest way to do this is to use the free transcoding tool AVF Batch Exporter. This allows you to drag and drop your sample videos into the app, and gives a range of options to output your video.
A more robust way of transcoding your videos is to use FFmpeg. This tool supports a wider range of input formats.
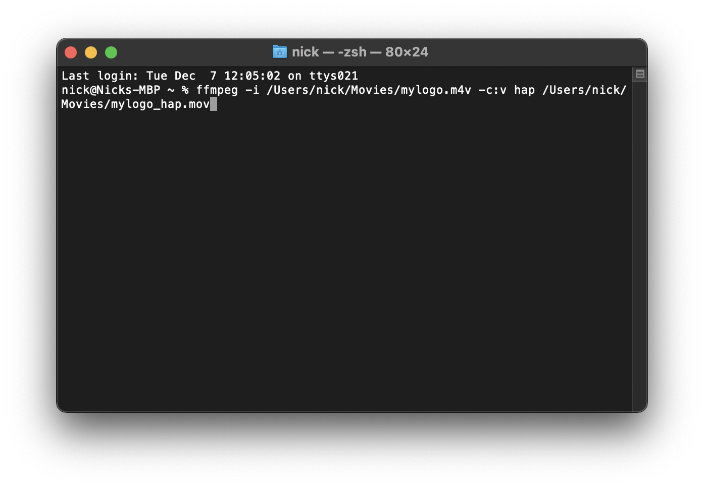
FFmpeg is a command line tool, so after you’ve installed it you will need to open the Terminal application.
The following commands can be used to encode in the various formats:
For HAP:
ffmpeg -i pathToInputFile.mov -c:v hap pathToOutputFile.mov
For HAP Q:
ffmpeg -i pathToInputFile.mov -c:v hap_q pathToOutputFile.mov
For HAP Alpha:
ffmpeg -i pathToInputFile.mov -c:v hap_alpha pathToOutputFile.mov
Note that the HAP Q Alpha is not currently available in FFmpeg.
The image below shows an example of command, to convert a video into the HAP format, entered in the Terminal application.
This tip was created with MixEmergency 3.5.4 and Mac OS X 11.2.3. Subsequent versions may differ.